 Follow
I received some of the products in this post to review and may make a commission off any purchases made through links clicked on this blog (at no extra cost to you.) All opinions are my own, and I do not review products I don’t already love!
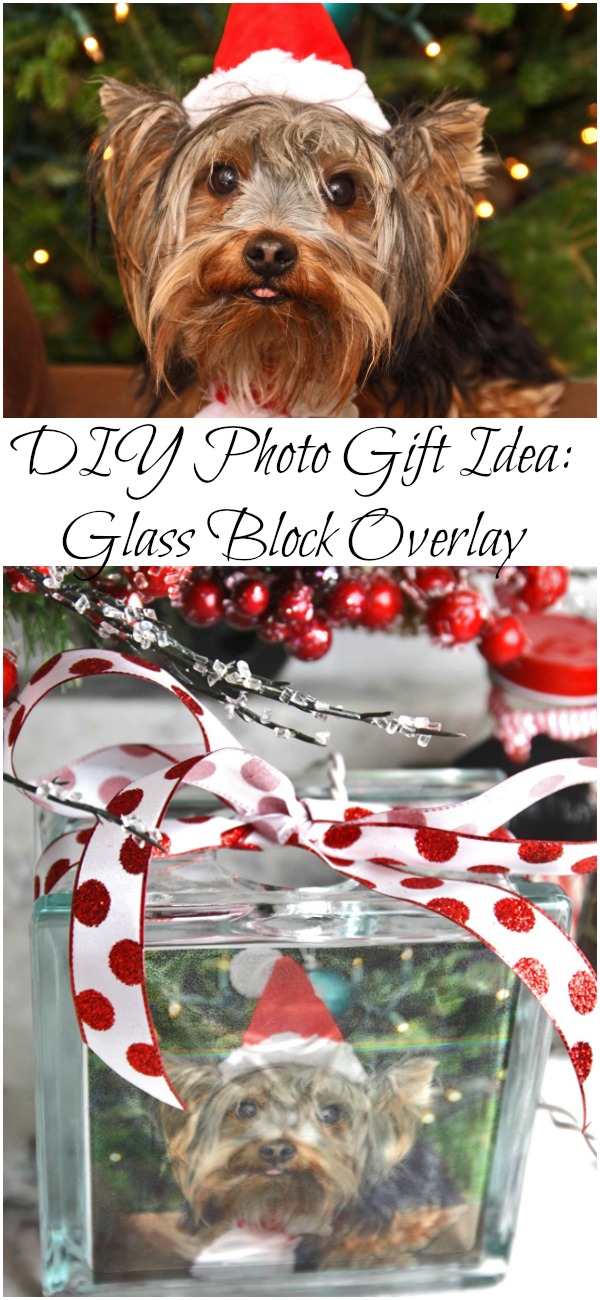
Adobe offered to send me the latest version of Photoshop Elements to test out, plus the materials to make a couple fun projects, of course I said yes! I’m a huge fan of all of Adobe’s products, especially Photoshop Elements so I was all in to check out Photoshop Elements 18! They also sent me some fun supplies to create some last minute Christmas gifts. This glass block overlay is my favorite! I got my Yorkshire Terrier puppy just a little over a year ago, so I decided it would be fun to make a glass block DIY photo gift idea with his photo on it for the family.
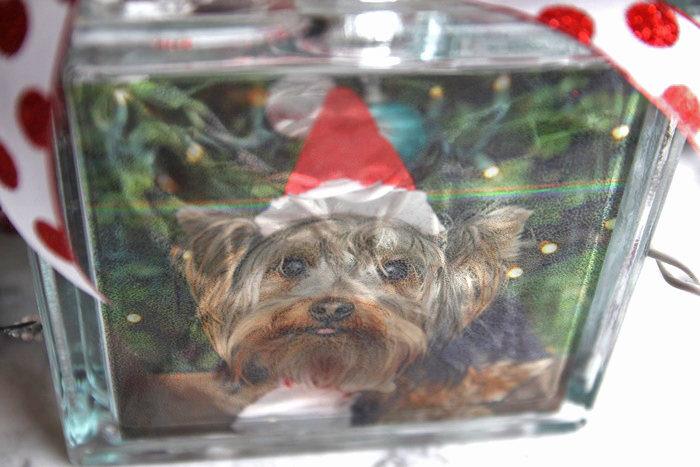
It was super easy to make! I had a couple photos I took of Ollie in his Santa hat the other day, so I edited those in Photoshop Elements 18 of course, to fix the lighting and to crop them. Here was the photo when I started.

After I fixed the photo in Photoshop it looked like this.

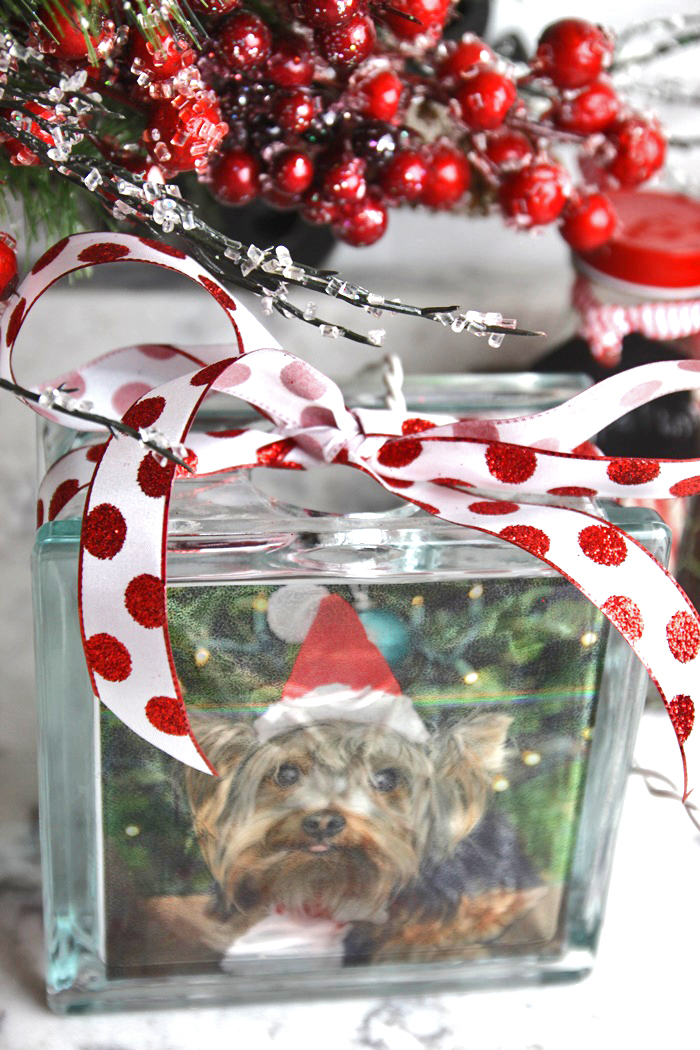
Much brighter for this project I think! Now to add it to the glass block! This was a super easy project, and it would make a great gift for parents or grandparents from the kids! I didn’t add much of a border to this photo so it didn’t show up much in the final project, but you could add some fun decorative borders, and have some fun with some of the other special affects in Photoshop Elements 18! Here are the directions to make your own.
DIY Photo Gift Idea: Photo Glass Block Overlay
Materials:
- Your favorite photo
- Photoshop Elements 18
- Glass Block
- Sticker Paper
- Twinkle Lights
- Festive Ribbon
1. Open your photo in Photoshop Elements 18
2. Select Guided>Fun> Edits> Shape Overlay Effect
3. Click Select A Shape and choose a shape to add to your photo.
4. Resize and rotate the shape to your liking.
5. Use the Move Tool to move the shape as needed.
6. Apply Outside Effect and/or Inside Effect as desired.
7. Click the Crop Tool and crop the photo to fit your 4.7 x4.7 inch glass block.
8. Click Next to save your newly created image.
9. Print the image on clear sticker paper.
10. Adhere your photo to the front of the block.
11. Fill the block with twinkle lights.
12. Wrap the block with your favorite ribbon.
This glass block craft and tutorial was originally created by Autumn Baldwin of It’s Always Autumn, used with permission from Adobe.
Let me know how yours turns out! You can find the new Photoshop Elements 18 at the Adobe website, or at many retailers including Amazon here.